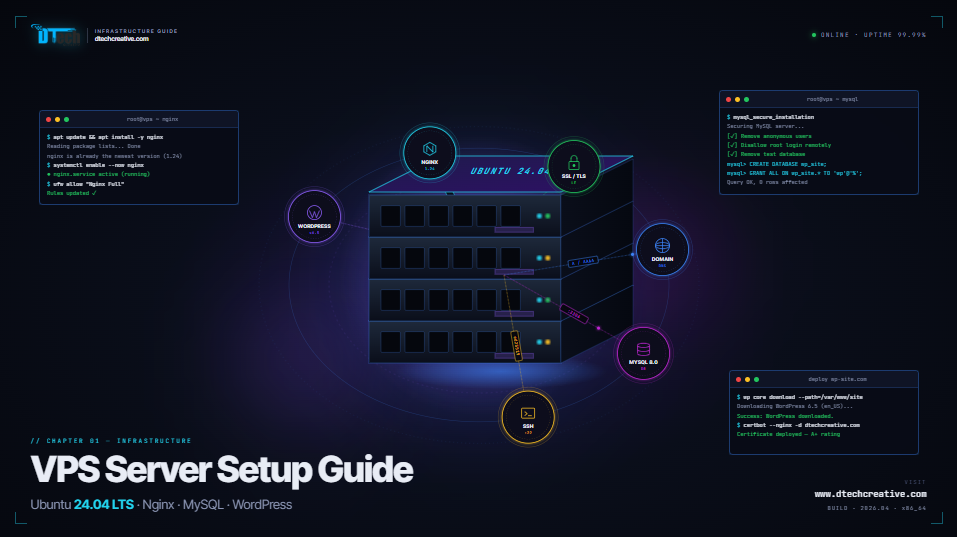
Complete Guide: VPS Server Configuration with Ubuntu 24.04 LTS (A to Z Setup)
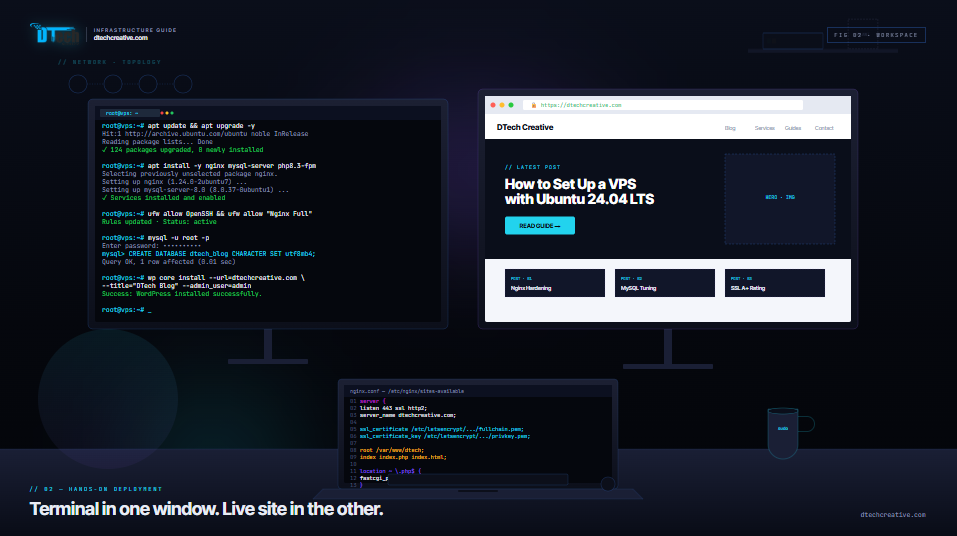
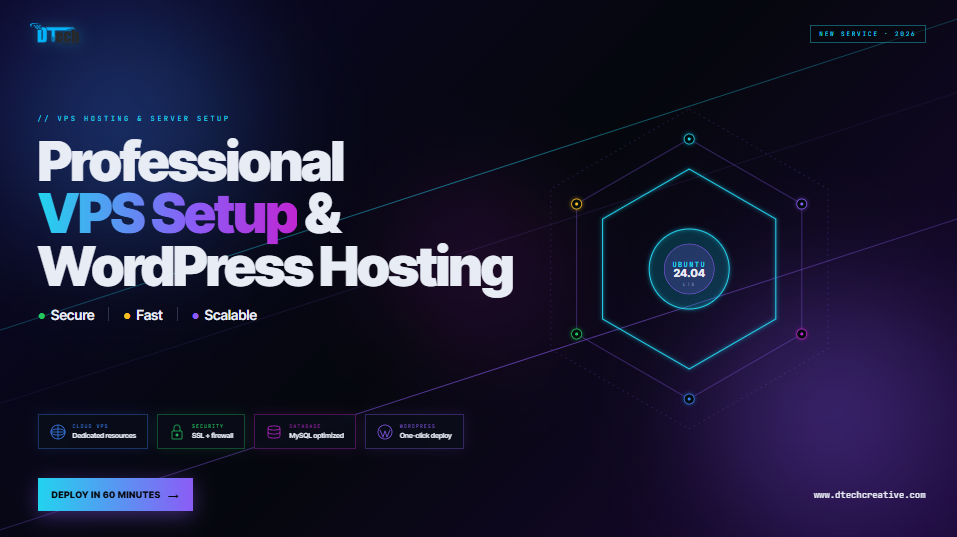
Setting up a VPS server with Ubuntu 24.04 LTS is one of the most powerful ways to host websites, especially for businesses that need speed, security, and full control. In this guide by DTech Creative, we will walk you through the complete process — from server setup to WordPress deployment and security hardening.
Step 1: Connect to Your VPS Server
After purchasing your VPS, connect via SSH:
ssh root@your_server_ip
Replace your_server_ip with your actual IP address.
Step 2: Update and Upgrade Server
Always start by updating your server packages:
apt update && apt upgrade -y
- Updates package lists
- Upgrades all installed packages
- Ensures latest security patches
Step 3: Create a New User (Recommended)
adduser dtechuser
usermod -aG sudo dtechuser
This improves security by avoiding root login.
Step 4: Install Essential Packages
apt install nginx mysql-server php php-fpm php-mysql unzip curl git -y
- Nginx: Web server
- MySQL: Database
- PHP: Backend processing
Step 5: Configure Firewall (UFW)
ufw allow OpenSSH
ufw allow 'Nginx Full'
ufw enable
This protects your server from unauthorized access.
Step 6: Secure MySQL
mysql_secure_installation
Follow the prompts to set root password and secure database.
Step 7: Create Database for Website
mysql -u root -p
CREATE DATABASE dtech_db;
CREATE USER 'dtech_user'@'localhost' IDENTIFIED BY 'strongpassword';
GRANT ALL PRIVILEGES ON dtech_db.* TO 'dtech_user'@'localhost';
FLUSH PRIVILEGES;
EXIT;
Step 8: Add Domain & Configure Nginx
Create a server block:
nano /etc/nginx/sites-available/yourdomain.com
Example config:
server {
listen 80;
server_name yourdomain.com www.yourdomain.com;
root /var/www/yourdomain;
index index.php index.html;
location / {
try_files $uri $uri/ /index.php?$args;
}
location ~ \.php$ {
include snippets/fastcgi-php.conf;
fastcgi_pass unix:/run/php/php8.3-fpm.sock;
}
}
Enable site:
ln -s /etc/nginx/sites-available/yourdomain.com /etc/nginx/sites-enabled/
nginx -t
systemctl reload nginx
Step 9: Install SSL (HTTPS)
apt install certbot python3-certbot-nginx -y
certbot --nginx -d yourdomain.com -d www.yourdomain.com
This will enable HTTPS with auto-renewal.
Step 10: Install WordPress
cd /var/www/
wget https://wordpress.org/latest.zip
unzip latest.zip
mv wordpress yourdomain
chown -R www-data:www-data yourdomain
chmod -R 755 yourdomain
Step 11: Configure WordPress
cp wp-config-sample.php wp-config.php
nano wp-config.php
Add database details:
- DB_NAME
- DB_USER
- DB_PASSWORD
Step 12: Install phpMyAdmin
apt install phpmyadmin -y
Then configure:
ln -s /usr/share/phpmyadmin /var/www/yourdomain/phpmyadmin
Access via:
http://yourdomain.com/phpmyadminStep 13: Security Hardening
- Disable root SSH login
- Change default SSH port
- Install Fail2Ban
- Enable firewall rules
apt install fail2ban -y
Step 14: Performance Optimization
- Enable Gzip compression
- Use caching plugins
- Install Redis (optional)
Step 15: Backup Setup
crontab -e
Example backup script:
0 2 * * * tar -czf /backup/site.tar.gz /var/www/yourdomain
Final Thoughts
Setting up a VPS with Ubuntu 24.04 LTS gives you complete control over your hosting environment. With proper configuration, you can achieve high performance, strong security, and scalability for your business website.
Need professional VPS setup, WordPress hosting, or server management? Contact DTech Creative today!Visit DTech Creative